Your cart is currently empty!
VECTOR ILLUSTRATION VS HANDMADE ILLUSTRATION
Making a fashion illustration with vectors can be very convenient, comfortable and practical. Comparing this technique with a handmade illustration, can we achieve the same effect on our customers?
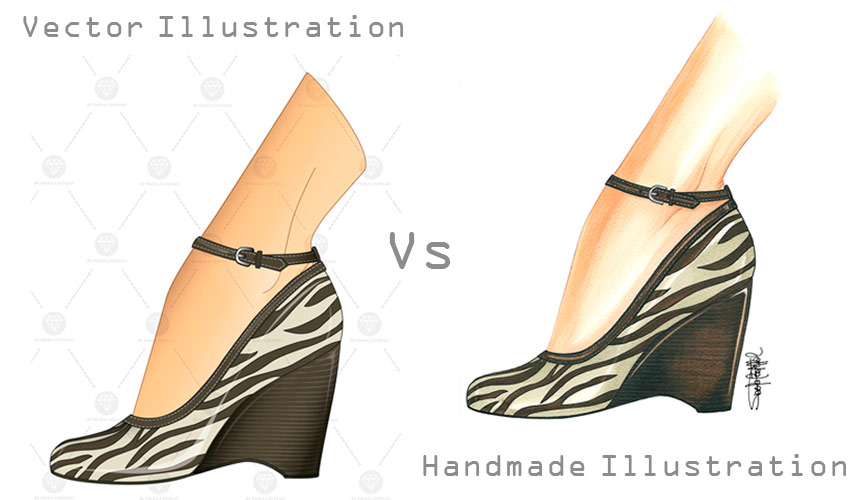
Creating a vector fashion illustration by using software programs such as Adobe Illustrator, CorelDRAW, FreeHand, Inkscape, SK1, etc., has many advantages, especially in technical development; for example, when you design, you can evolve an idea, transform and completely change it while you are working in the same document. If you make a mistake, you should just step back on your original file having no problems. Also you have the possibility to copy, compare and modify your design in different colors, textures and effects with just a click. Additionally, you have the opportunity to work wherever you want and taking your illustrations without thinking about the risk of damage before submitting… this is just to mention some advantages of creating a vector illustration, but if you ask me for final results I prefer hand made illustration because I perceive it more artistic and personal. Additionally, I love working with brushes, markers, colored pencils and all my tools to make unique designs for my clients.
Analyzing this topic I decided to make an Adobe Illustrator tutorial where I show you the main steps to create a vector illustration:
Step 1: Create a base template for our design.
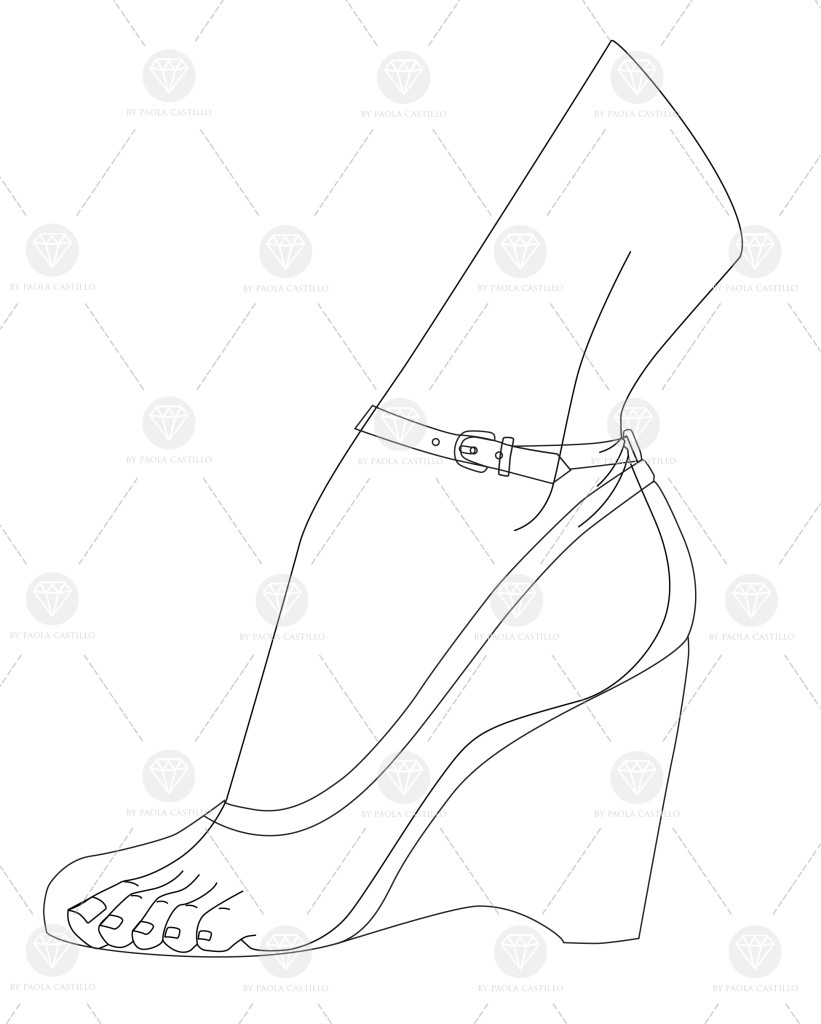
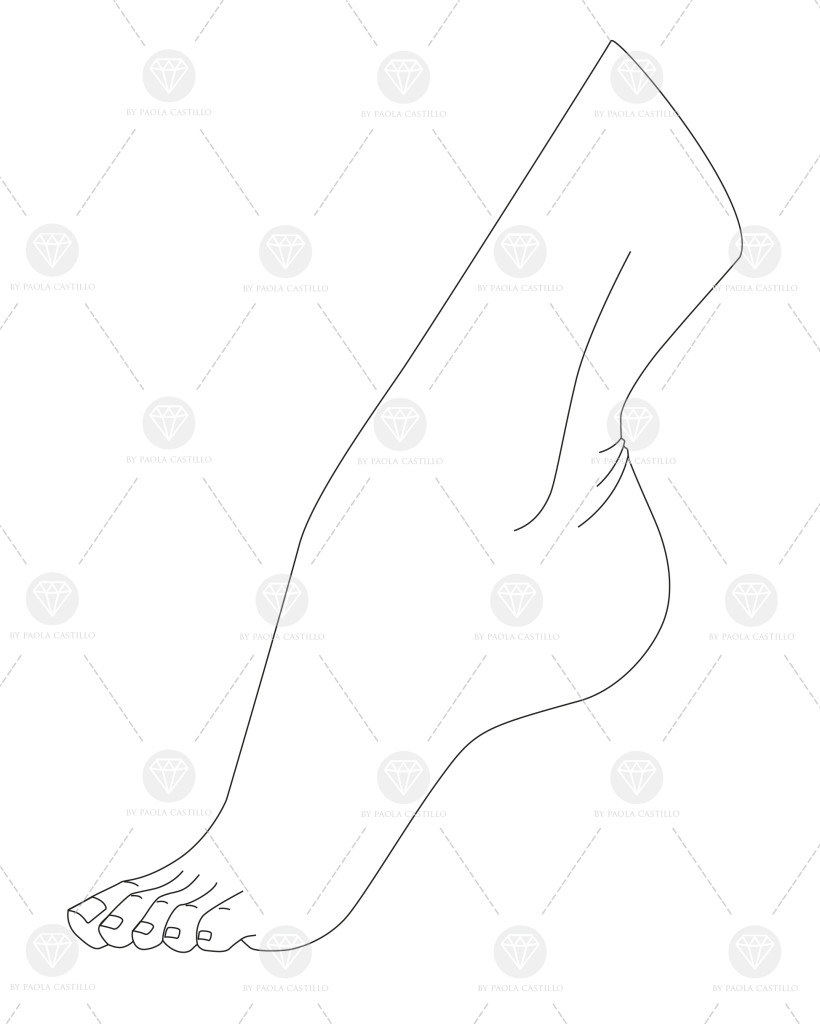
For this example we can use a foot picture to create the template. The first step is to lock the image’s layer using the lock icon (in the layers panel) to avoid move it while doing the strokes. After that, create a new layer and start to draw the image using the Pen Tool (P).
 Step 2: Design the shoe over the new template created.
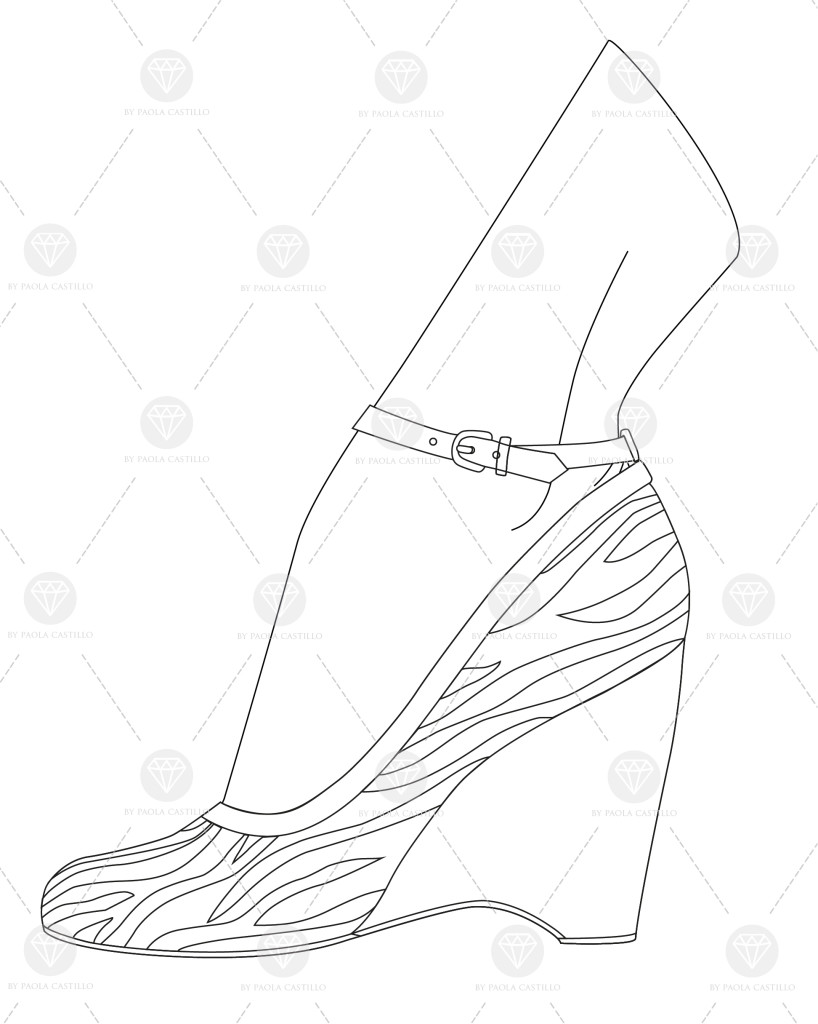
Before starting we need to generate a new layer where you begin to create the shoe design in separate sections (in this way we can manipulate each piece individually). At this point, our tracing doesn’t have to be perfect because when filling each space with the respective colors some pieces will be hidden behind others. Any imperfections will not be noticed.
Step 3: Fill in the spaces with the different colors.
Each vector object that we have created must be filled with the desired color.
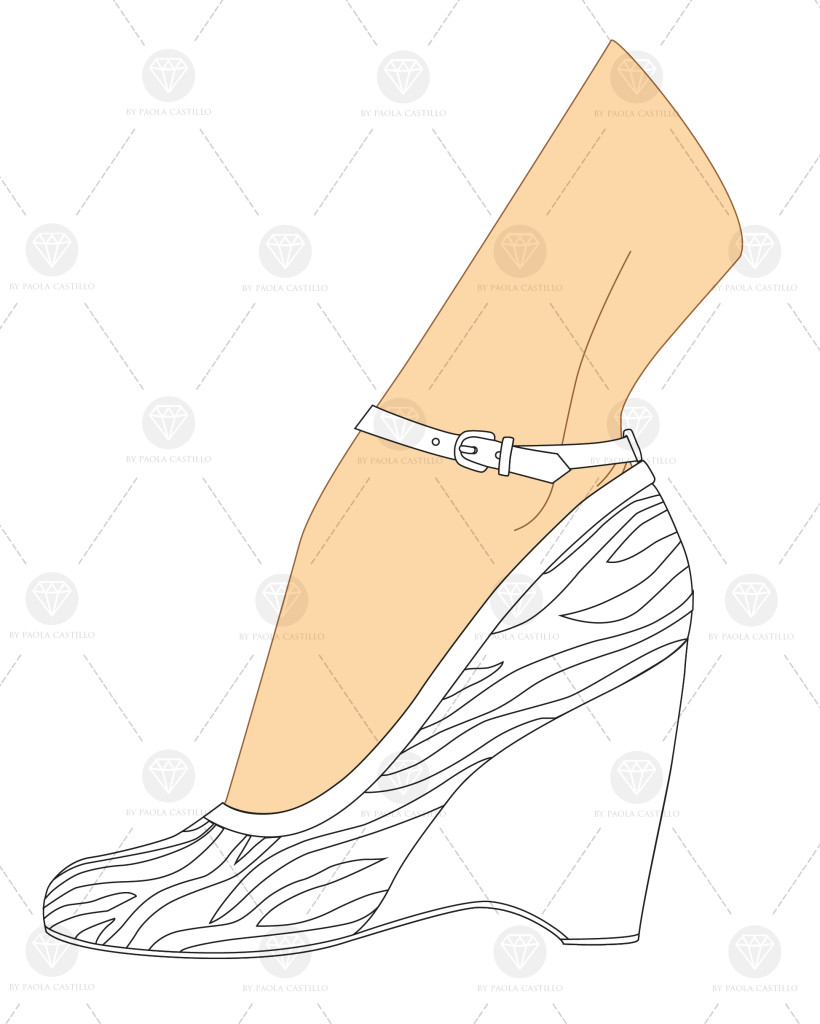
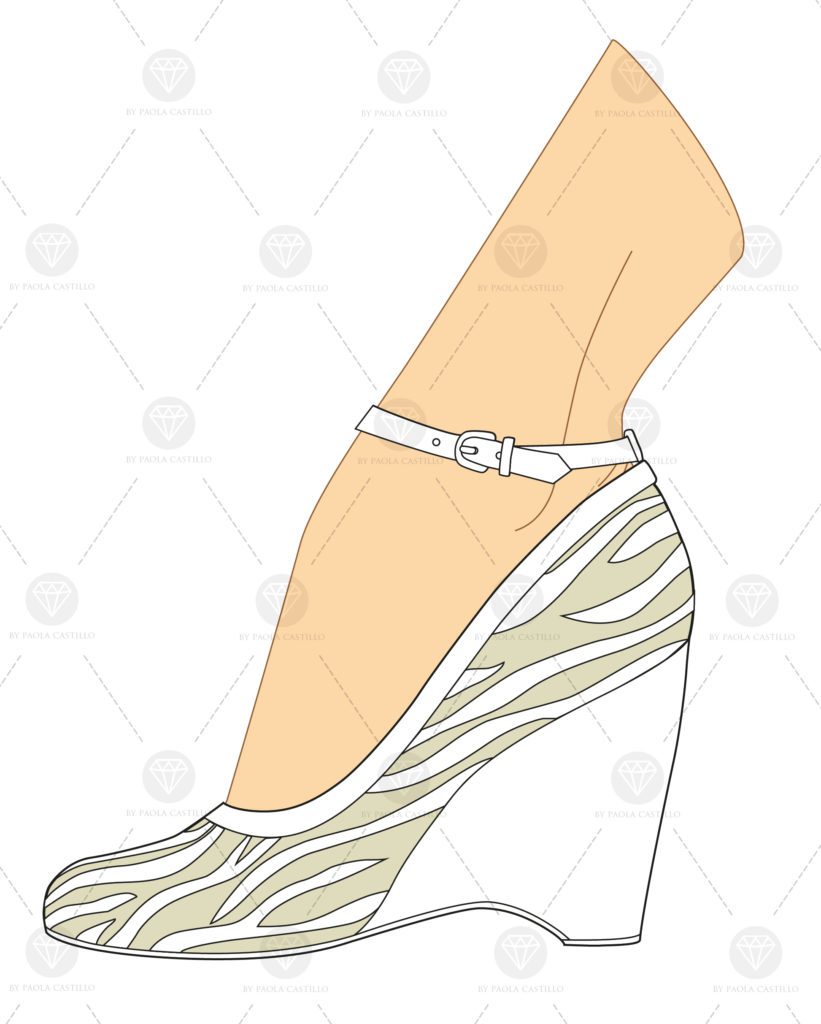
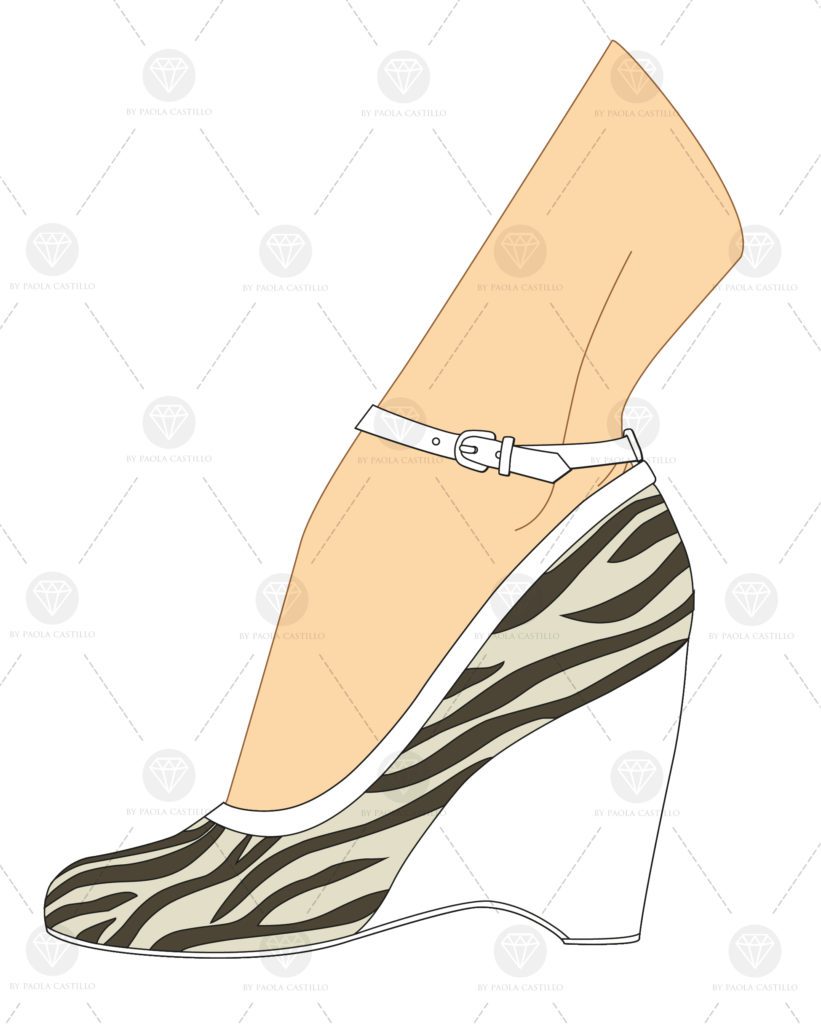
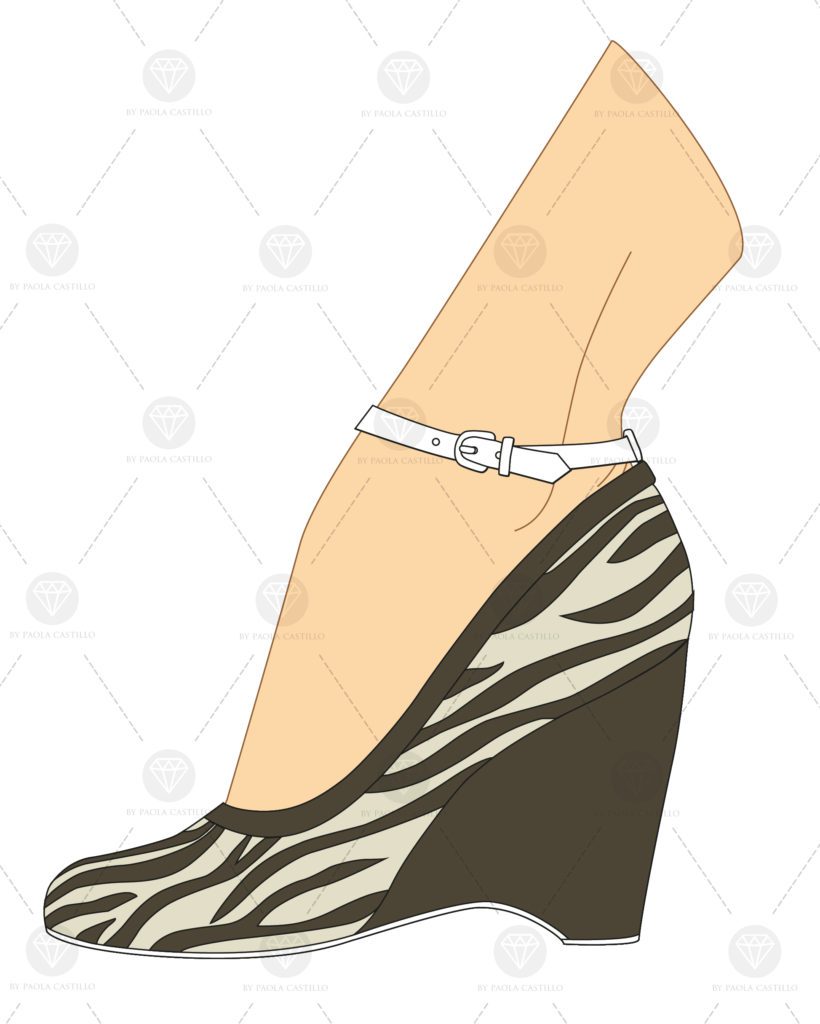
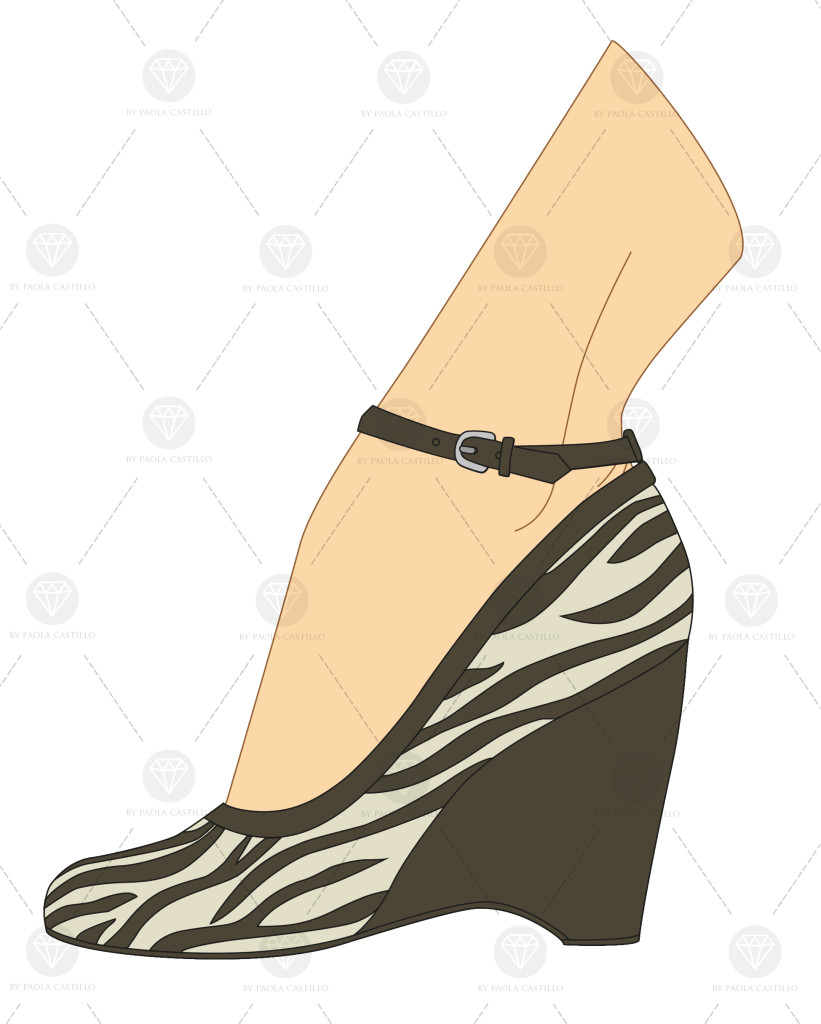 Step 4: Perfect the small details and creating the gradients.
It is time to complete our design with stitching details and for this we can create a pattern which resembling it and in black color that should go under and another in white that are located over, this creates us to a small shadow in the stitchings to give some volume. Then select a variable outline style with the Pen Tool (P) to create texture wooden heel and to give an effect to worn you can use the Transparency Tool. Finally, we must create the shadows and lights that will give us the 2D effect on our illustrations and for this we will use the tool degradation (G). Below the final result.
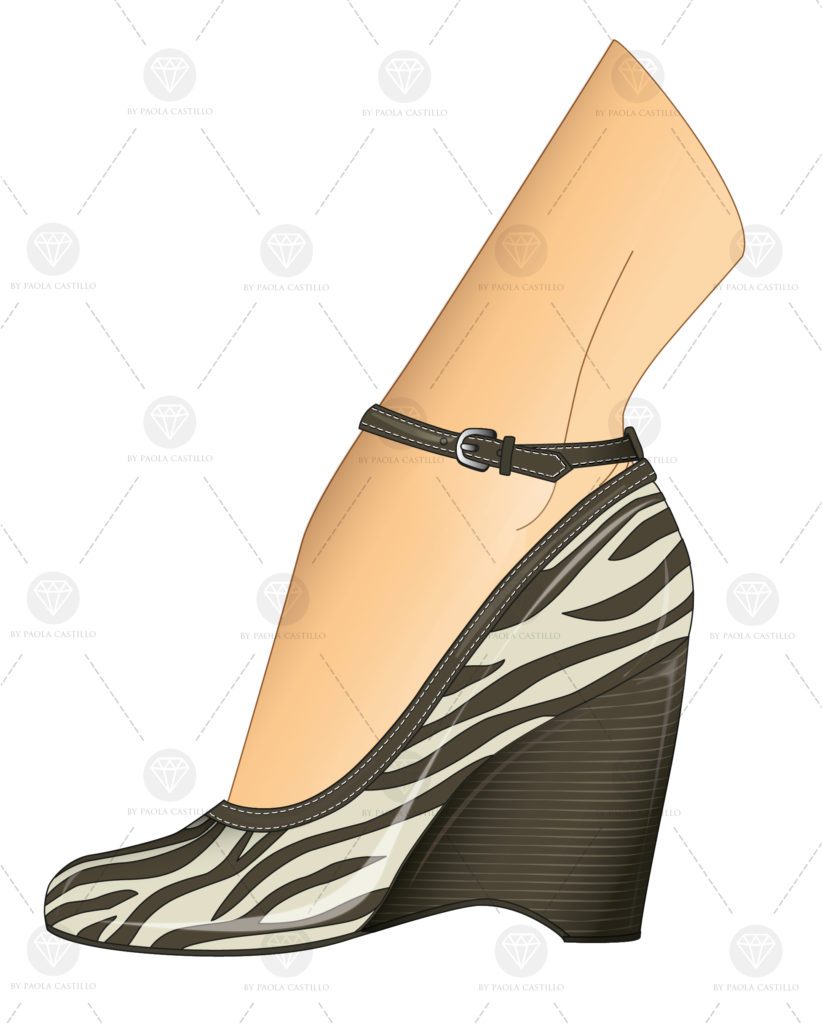 What do you think? You think that compared to the following illustration handmade is better? What would be your choice? I think the definition in line and color intensity is very interesting and clean in vector illustration but the manual work of a handmade illustration I enjoy it so much more in its preparation and on the outcome.
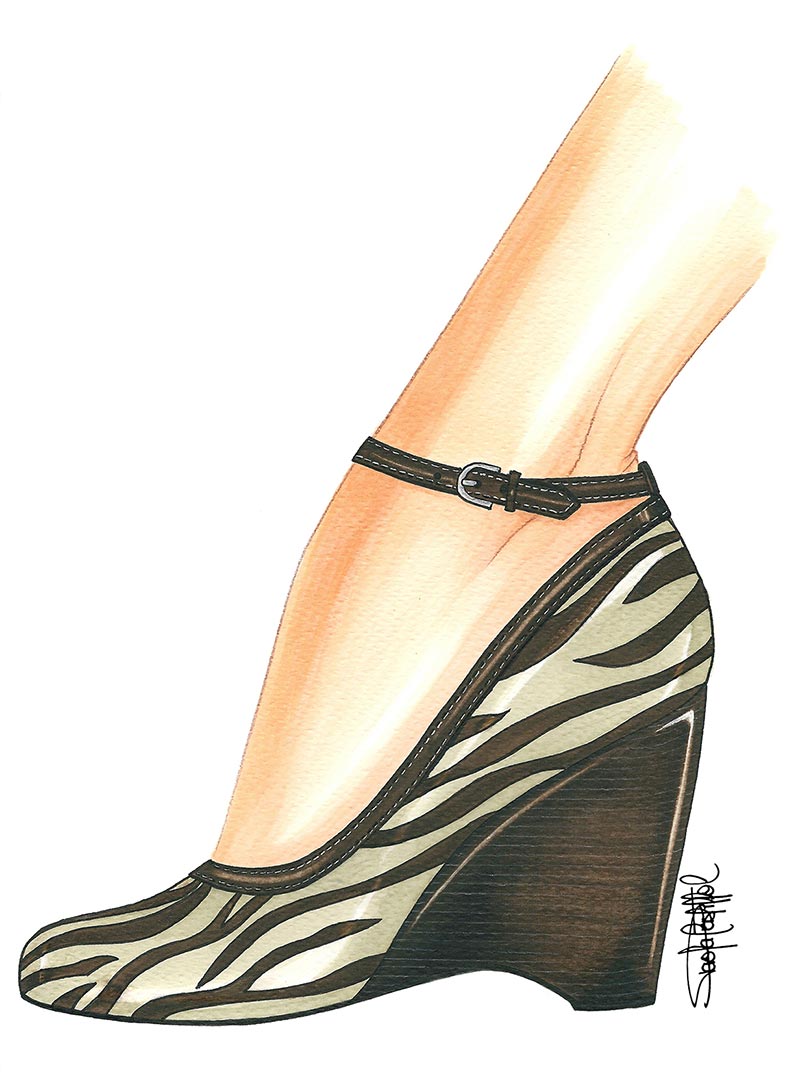
Let me know your opinion!
Have a nice day 😉
